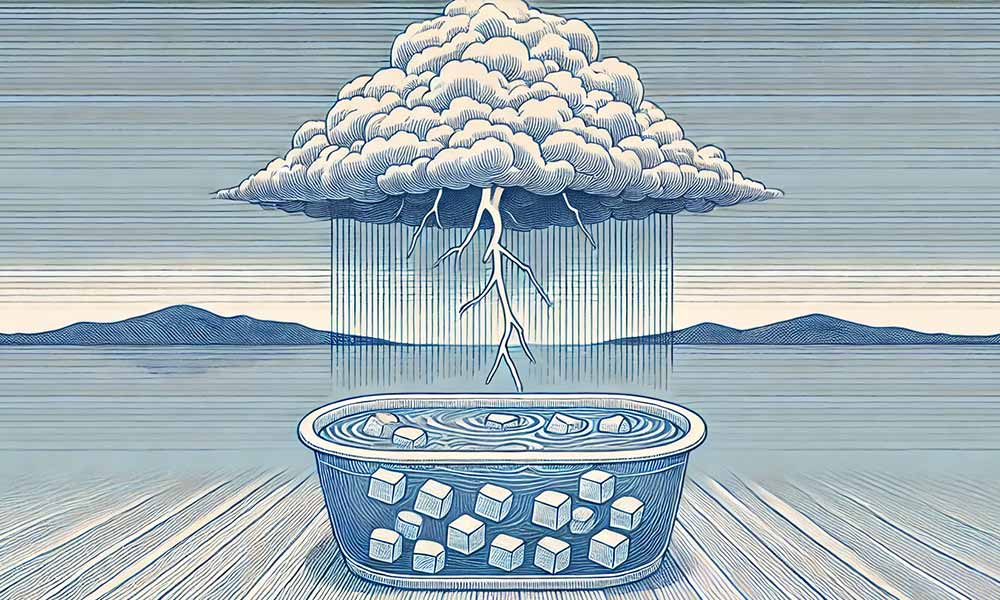
Cold plunging has gained immense popularity among health enthusiasts, athletes, and those seeking natural ways to boost their well-being. As you embrace this invigorating practice, one crucial aspect often overlooked is water sanitation. Enter ozone – a powerful, efficient, and increasingly popular method for keeping your cold plunge clean and safe.
This guide will walk you through everything you need to know about using ozone in your cold plunge, from understanding the basics to implementing and maintaining an ozone system. Whether you’re a DIY enthusiast or considering a pre-built cold plunge setup, this information will help you make informed decisions about your water sanitation approach.
What is Ozone?
Ozone (O₃) is a molecule composed of three oxygen atoms. It’s a naturally occurring gas in our atmosphere, often associated with the “fresh air” smell after a thunderstorm. In water treatment, ozone is artificially generated to harness its powerful oxidizing properties.
Ozone’s effectiveness as a disinfectant stems from its unstable nature. When introduced to water, it quickly breaks down, releasing a single oxygen atom. This atom aggressively attacks and destroys microorganisms by oxidizing their cellular components.
This process is remarkably fast and effective against a broad spectrum of pathogens, including bacteria, viruses, and protozoa.
Ozone vs. Traditional Sanitation Methods
Compared to common alternatives like chlorine, ozone offers several advantages:
- Speed: Ozone disinfects water up to 3,000 times faster than chlorine.
- Effectiveness: It’s more potent against a wider range of microorganisms.
- Safety: Ozone leaves no harmful chemical residues, breaking down into simple oxygen.
- Odor-free: Unlike chlorine, ozone doesn’t impart any smell to the water.
Cold plunges provide an ideal environment for ozone sanitation. In cold water ozone remains stable for longer periods, extending its disinfecting action. It also achieves higher saturation levels in cold water, enhancing its effectiveness.
Benefits of Ozone in Cold Plunges
1. Superior Disinfection
Ozone rapidly eliminates a wide range of microorganisms in cold plunge water. It effectively breaks down biofilms that harbor pathogens resistant to other treatments. The speed of ozone’s action ensures consistently safe water. This powerful oxidizing agent provides thorough sanitization, making it an excellent choice for maintaining clean, hygienic cold plunge conditions.
2. Improved Water Quality
Ozone treatment significantly enhances water quality in cold plunges. It oxidizes organic compounds that cause cloudiness, resulting in crystal-clear water. Users report no chemical odors and the elimination of existing unpleasant smells. Many also note that the water feels softer and more natural on the skin.
3. Reduced Chemical Usage and Maintenance
Ozone systems often eliminate the need for additional sanitizing chemicals in cold plunges and simplify the your maintenance routine considerably. This reduction allows for longer intervals between water changes, saving time and resources. Ozone doesn’t significantly affect water pH in your ice bath, leading to more stable water chemistry.
4. Enhanced Safety
Ozone breaks down into simple oxygen, producing no harmful byproducts. Users typically experience less skin and eye irritation compared to chlorinated water. Properly installed systems operate automatically, reducing risks associated with manual chemical handling. These safety advantages make ozone an attractive option for health-conscious cold plunge users.
5. Cost-Effectiveness and Efficiency
While initial setup costs for ozone systems are higher, they often prove economical long-term. The reduced need for additional chemicals leads to ongoing savings. Modern ozone generators are energy-efficient, contributing to lower operational costs. By reducing chemical usage, ozone systems can extend the life of cold plunge equipment, potentially lowering overall maintenance expenses.
Potential Drawbacks of Ozone in Cold Plunges
1. Initial Cost
Ozone systems have higher upfront costs compared to traditional chemical treatments for cold plunges, typically ranging between $150 to $500. Cost will depend on the price of the ozone generator, installation, and potentially professional setup. While the investment often pays off through reduced chemical and maintenance costs over time, the initial expense can be a barrier for some users.
2. Installation Complexity
Proper installation of an ozone system is crucial for optimal performance and safety. This often requires professional expertise, adding to the initial costs. Correct sizing of the ozone generator and proper integration with existing plumbing are essential. Improper installation can lead to ineffective sanitization or safety issues.
3. Air Quality Concerns
In poorly ventilated areas, ozone can accumulate in the air above the water, posing health risks. Breathing high concentrations of ozone can cause respiratory irritation and other health issues. Proper system design, including adequate ventilation and potentially an off-gas destructor, is necessary to mitigate these risks, especially for indoor installations. However, risk is near non-existent if you wait a few hours after your ozone generator runs before using your tub.
4. Material Compatibility
Ozone’s strong oxidizing properties can degrade certain materials over time. All components in contact with ozonated water must be ozone-resistant to prevent damage and ensure longevity. This may require replacing some existing plumbing or equipment components, adding to the overall cost and complexity of the system.
5. Ongoing Monitoring
While less intensive than chemical treatments, ozone systems still require regular monitoring and maintenance. This includes periodic checks of ozone levels, system performance, and equipment condition. Users need to be committed to this ongoing maintenance to ensure the system’s effectiveness and safety over time.
Choosing Your Ozone Generator
When it comes to ozone generators, you have several options, each with its own set of advantages and considerations.
- Corona discharge generators lead the pack for cold plunge applications. They offer high ozone output and efficiency, particularly in cold water conditions. While they come with a higher initial price tag and require dry air or oxygen input, their long lifespan and consistent performance make them a popular choice.
- Ultraviolet (UV) light generators present a more budget-friendly option with a simpler design. However, they produce less ozone and may require more frequent maintenance due to bulb replacements. Humidity can also affect their performance, a factor to consider in your cold plunge environment.
- Electrolytic generators offer a compact solution for smaller setups that produces ozone directly from water. While they eliminate the need for air preparation, they typically have lower output and higher operating costs due to electricity consumption.
For most cold plunge applications, corona discharge generators are the preferred choice due to their higher output and efficiency in cold water conditions.
Setting Up Your Ozone System for Cold Plunge
Properly installing an ozone system in your cold plunge is crucial for effective water sanitation and safe operation. This guide will walk you through the key steps of the setup process.
Step 1: Sizing Your Ozone Generator
Start by determining the appropriate size for your ozone generator. The general rule is to use 20-40 mg/hr of ozone per 100 gallons of water. Measure your cold plunge’s volume and calculate the required ozone output. If you’re unsure, consult with a professional to ensure proper sizing for your specific setup.
Step 2: Installation Process
The heart of your ozone system is the venturi injector. Install this component in the plumbing line after your pump and filter. The venturi creates suction that draws ozone into the water stream, ensuring efficient mixing and dissolution of ozone.
Mount the ozone generator in a dry, well-ventilated area near your cold plunge. Ensure it’s easily accessible for maintenance. The generator should be placed above the water level to prevent any possibility of water backflow into the unit.
When setting up the plumbing, use ozone-resistant materials for all components that will contact ozonated water. Schedule 80 PVC pipe and fittings, available at most hardware stores, are suitable. For tubing, opt for ozone-resistant silicone, which you can find at aquarium stores or online. EPDM rubber, available at auto parts stores, is a good choice for seals and O-rings. Avoid standard rubber hoses or brass fittings, as ozone will degrade these materials over time.
Install check valves in the line between the ozone generator and the venturi injector to prevent water from flowing back into the generator. This is a critical safety measure to protect your equipment.
Step 3: Control System and Timer Setup
Integrate the ozone generator with your cold plunge’s existing pump and filtration system. A timer is essential to control ozone production cycles. Set it to run the system for 1-2 hours daily, typically 1-2 hours before your planned plunge time. End the ozone cycle at least 15-30 minutes before use to allow for ozone dissipation.
Many users prefer to set their timer for early morning or late night operation. This ensures the water is properly sanitized for their preferred plunge time while avoiding ozone production during use.
Step 4: Safety Features
For indoor installations, an ambient ozone monitor is crucial. This device detects any ozone leaks in the air. Link it to an automatic shut-off feature for an extra layer of protection. Ensure proper ventilation in the area around your cold plunge to dissipate any ozone that might escape into the air.
Step 5: Initial Testing and Adjustments
After installation, it’s time for initial testing. Run the system and check your water quality parameters. Use test strips or a digital meter to verify that dissolved ozone levels in the water are within the safe range of 0.1-0.3 ppm. Adjust ozone production and cycle times based on these results.
For precise control, consider adding a dissolved ozone sensor to your setup. This helps maintain optimal ozone levels and prevents over-ozonation, ensuring your cold plunge remains safe and effective.
Final Considerations
Remember that proper installation is key to both performance and safety. If you’re not confident in your DIY skills, it’s worth hiring a professional to ensure everything is set up correctly.
The initial investment in proper installation will pay off in the long run through effective sanitation and reduced maintenance needs.

