Thinking about taking your first ice bath? Whether you’re aiming to speed up muscle recovery, improve mental resilience, or simply test your limits, the key to a successful plunge starts with proper preparation. This checklist will guide you through everything you need to feel confident, safe, and ready to chill—literally.
1. Ice (and Lots of It)
You’ll need more ice than you think. For a standard 60-gallon tub, expect to use 20–40 pounds of ice to bring the temperature down to an ideal range of 38–50°F (3–10°C). If you’re using a chest freezer or cold climate water, you may need less.
The general rule is a 1:3 ratio of ice to water by volume—so for every 4 gallons of water, aim for 1 gallon (about 7.7 lbs) of ice. For larger tubs (like 100 gallons), this could mean as much as 250+ pounds of ice. If you want precision, use an ice calculator or refer to a chart tailored to your tub’s size and target temperature.
Pro tip: Freeze your own ice blocks in storage bins or get a dedicated ice maker if you plan to plunge regularly. Here’s a guide on how to make lots of ice for ice baths cheaply.
Consider a Water Chiller: If you’re tired of constantly managing ice or want a more consistent experience, investing in a water chiller can be a game-changer. Water chillers let you set an exact temperature, eliminate the hassle of bulk ice, and save money over time. We’ve done the research and compiled a list of our favorite water chillers here.
2. Thermometer
A floating or digital water thermometer is essential to track your bath’s temperature accurately. This helps you avoid dangerously cold conditions and makes your sessions consistent.
Avoid common mistakes: make sure your thermometer is fully waterproof (not just water-resistant), place it away from the tub’s sides or bottom to get a true reading, and give it time to stabilize in the water before trusting the number. Regular calibration and cleaning also go a long way in ensuring it remains reliable session after session.
Aim for 50–59°F (10–15°C) for beginners, and work your way down over time. Don’t guess—know.
3. Timer
Time is everything in cold exposure. A waterproof timer or smartphone stopwatch will help you stay safe and build up tolerance. Start with 1–2 minutes and build gradually.
Prolonged exposure can increase your risk of hypothermia, so always monitor your duration carefully.
4. Towels and Warm Clothing
Have a dry towel and cozy clothes ready for when you get out. Include:
- Thick bath towel
- Wool socks
- Hoodie or sweatshirt
- Sweatpants
- Beanie (you lose a lot of heat through your head)
A warm beverage like herbal tea is also a great way to support your body post-plunge. Avoid taking a hot shower right after your ice bath. Not only can it harm the benefits of the ice bath, but can cause serious health issues like after drop.
5. Your Cold Plunge Setup
You’ll need a container that can comfortably fit your body. Common DIY options include:
- Your bathtub (easy and accessible)
- A clean trash can or barrel
- A chest freezer (with sealant and GFCI outlet)
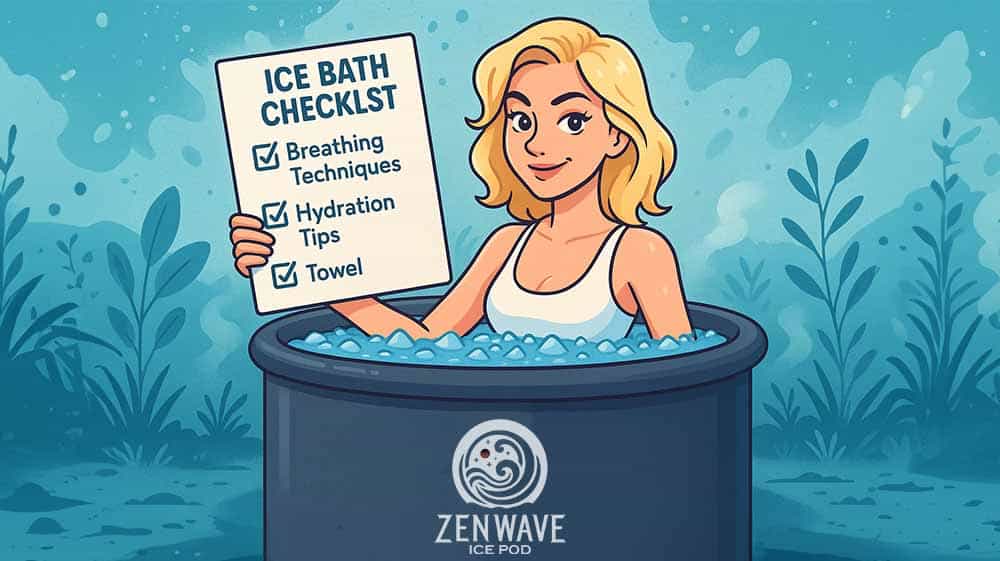
Want a hassle-free, insulated setup? The ZenWave Ice Pod is a portable, professional-grade cold plunge tub that holds the temp, looks clean, and sets up in minutes—perfect for beginners or daily users.
6. Gloves and Booties (Optional But Helpful)
Extremities can get painfully cold fast. Neoprene gloves and booties help reduce discomfort in your fingers and toes, especially if you’re staying in for more than a few minutes.
These accessories are optional, but many first-timers find them helpful for staying calm and focused.
7. Safety First: A Spotter or Buddy
If it’s your first time, have someone nearby—especially if you’re using an outdoor tub or chest freezer. Cold water affects the nervous system quickly and can cause dizziness or disorientation.
At a minimum, let someone know when and where you’re plunging.
8. Breathing Technique
It may not be gear, but breathing is a crucial part of your checklist. Practice slow, controlled nasal breathing before and during your plunge to help regulate your nervous system. By focusing on your breath, you can manage the shock, stay calm longer, and get more from your plunge.
We cover eight specific techniques—from the Wim Hof Method to calming box breathing—in our guide on ice bath breathing techniques.
9. First Aid and Exit Plan
Always have a warm space to recover nearby. This could be a heated room, blanket, or a mild-temperature shower. Be aware of hypothermia signs: intense shivering, numbness, or confusion mean it’s time to get out.
10. Mindset: Know Your “Why”
Going in with intention makes a huge difference. Whether it’s post-workout recovery, boosting your focus, or just proving to yourself you can do hard things—remind yourself why you’re doing this.
Confidence and calm are just as important as towels and ice.
Final Thoughts
If you’re serious about starting or sticking with cold therapy, having a dedicated setup makes all the difference. The ZenWave Ice Pod is built for this exact purpose—an insulated, portable ice bath that helps you stay consistent without the mess or hassle of makeshift tubs.
Its spacious design, quick setup, and cold-retention features make it easier to build a routine you’ll actually stick with. Whether you’re plunging after workouts, starting your morning with a jolt of clarity, or just building resilience—this is the tool that makes cold therapy part of your lifestyle.
Take the guesswork out of setup. Let the ZenWave Ice Pod be your cold plunge home base